Ep.17 — Make Your Own Init Dummy Template
Download Markdown Download with Images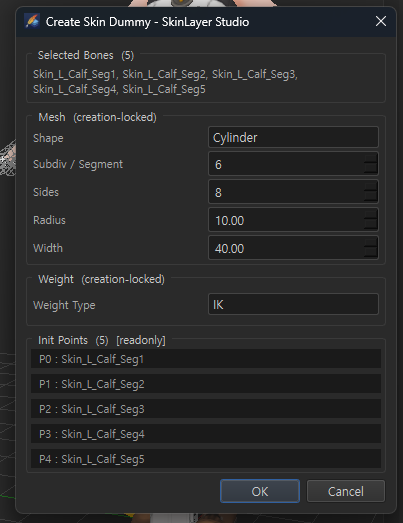
1. Why make your own
EP16 Applied a ready Init Dummy Template. This episode builds and saves a Spine Dummy.
Built-in forms exist:
| DCC | Built-in form |
|---|---|
| 3ds Max | BipedPlus |
| Blender | Auto-Rig Pro |
.x means center. This rig’s Bone Front Axis is Y. Some studios use Z as front and X as side. Bone naming also differs. For that freedom, you make the Template yourself.
Leave a comment if you need a Template.
Apply flow: EP16. Dummy from bones: EP13. UI: F10
2. Parts, not Full Body
Init Dummy Template is split by part, not Full Body.
- Body: torso · head · legs · arms · fingers
- Facial: mouth · nose · eyelids · brows · ears · even cheeks
Keep Body Module and Facial Module separate.
3. Base body type
Game characters stay close in the large frame. Height-band Variation drops in steps. A 140 cm band and a 170 cm band each share almost the same size. They are not identical — sometimes a 1 cm offset is added.
Pick one average body as the base. The example is Zenless Zone Zero. Keep males separate. Internally, Mabel is the most average.
For Dummy data, keep the body only and strip clothes and Skin. The demo is 3ds Max; Maya · Blender are the same.
4. Dummy Mesh — more edges than the real mesh
A Dummy must not have fewer edges than the real mesh. It should have more. Add edges in the gaps and raise Low Poly to High Poly. The video scaled the mesh more than 2×.
Then:
- Put every bone you work into Skin.
- Check with Sort by Hierarchy.
- Turn off Unfreeze · Unhide. If they stay on, skinning fails.
- Confirm the SLS link, then Pick All (or Pick)
5. Cleanup — Spine Dummy
After Pick, leg · arm · head bones may come along. A Spine Dummy does not need leg bones.
- Fold Base Layer Weight onto Pelvis at 1.
- Select leftover bones in Hierarchy, right-click Remove Bones
- Bones with no Weight are removed. If the dialog says Undo is impossible, press Remove
- Clear leftover arm · leg · torso bones. Dummy Data must stay clean.
This rig has three spine bones. Name it my-spine3-dummy.
On 3ds Max Biped the start bone is Bip001 Spine, not Bip001 Spine1. Recheck the count on your DCC too.
6. Create Dummy · Transfer
- Put Pelvis as Base · Seg (Seg 1).
- Select Spine 1 · 2 · 3 and Create Dummy — a Cylinder appears.
- FK is better than IK here.
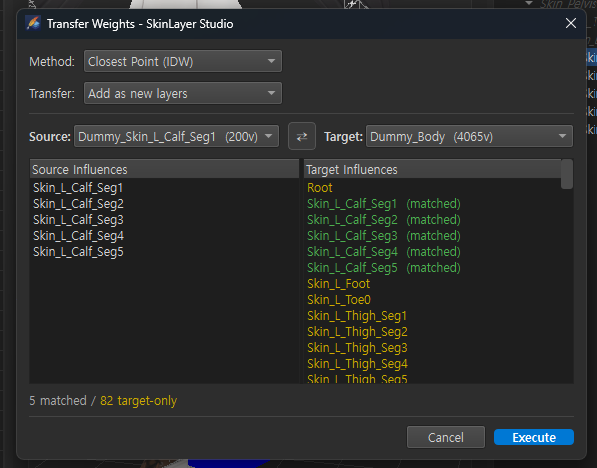
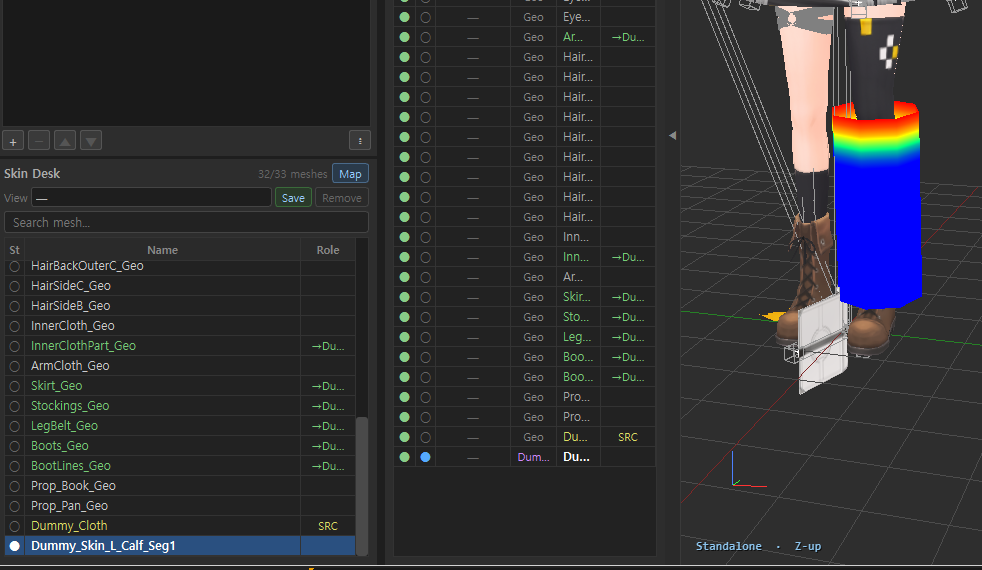
- Transfer Weight Dummy → real mesh
- When the first pass shows, Tools → Smooth (Base is at the top)
- Fill gaps with Mask · Wire
Recent update: W move, rotate key, R scale. Press again to hide the gizmo.
7. Save Init Dummy
Always File → Save (.sls) first.
- Right-click the Dummy → Set Type = Init Dummy
- Right-click → Save Init Dummy
- Files usually go under AppData
- When asked, pick one DCC (3ds Max if it came from Max, Blender if Blender)
- Parts = Spine (Facial · Other live here too)
- Confirm under Init Dummy, then Open File
The first save can be wrong. If Spine Seg Weight landed on the wrong bone, Change Influence to swap Skin Spine 1 · 2. Same role: Cut → Add. Then Tools → Normalize (sum = 1) → Prune All Layers.
Even after saving the Init Dummy, keep the .sls Skin Layer Data. You will edit it again. After cleanup, Set Type → Save Init Dummy to overwrite.
The file in the video stored bones flat (no parent). A recent update now saves hierarchy as-is.
8. Apply on another character
- Check the target spine count matches the save format (3 here)
- Same bone names pass through; if not, click to assign. Auto Find usually works
- Apply — the Dummy fits the torso. Waist stretch · side offset come from bone differences and that is expected. An arm Dummy follows that character’s arm length.
- If Node Type is Init Dummy Template, Fit Dummy appears and turns on at Apply.
- Purple boxes are virtual bones. They do not move the real bones.
- Fit Pelvis etc., then Commit. Slide the timeline and bones return to normal.
- Transfer Weight → Hide the Dummy. Data stays on the Template.
This is how you save skin data as a file and reuse it.
If you are short on time, skip building a Dummy. Right-click Duplicate as to Custom and use that. It may open rotated. Axis · naming edits: EP18.
The best sync is still making your own.
Contact: contact@otakusolutions.com
One-line flow
Average body · body only · add more edges
  → All work bones in Skin · Sort by Hierarchy · Unfreeze/Unhide off
  → Pick All → fold Base to Pelvis → Remove Bones
  → Pelvis Base·Seg · Spine Create Dummy (FK) → Transfer · Smooth · Mask
  → Set Type = Init Dummy → Save Init Dummy (DCC · Parts)
  → Change Influence · Normalize · Prune · keep .sls aside
  → Apply → Fit Dummy → Commit → Transfer Weight