Ep.18 — How to Edit Init Dummy
Download Markdown Download with Images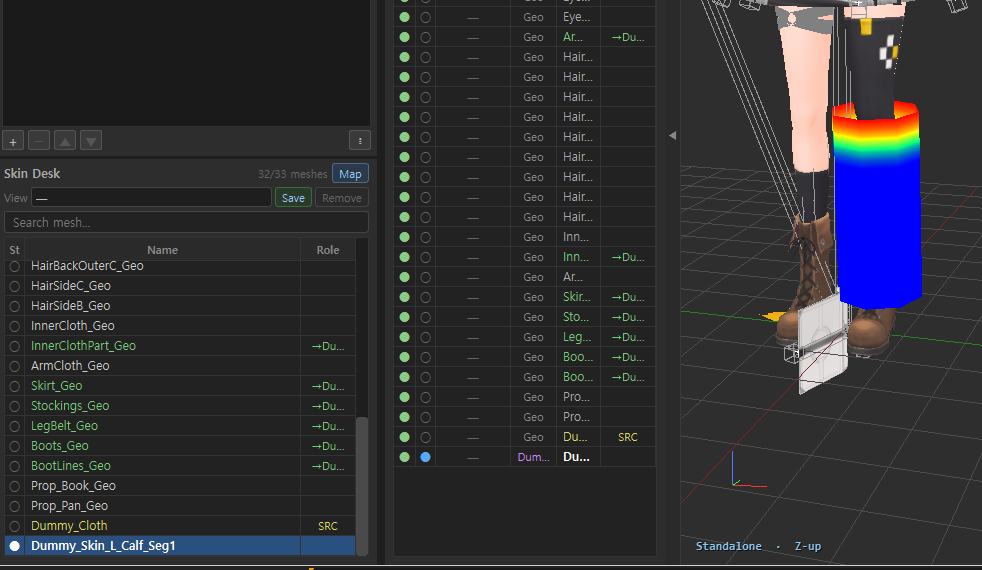
1. Why you need to edit
EP16 is Template Apply. EP17 is building one. This episode edits an existing Dummy for another DCC or custom rig.
The example is Mabel, custom-rigged earlier in Maya. You are not in 3ds Max, and you want a saved Dummy to work in Maya. Max · Blender users use the same steps when axis or naming differs.
Ignore Facial for now. That is just the expression face shadow coming along.
2. Why Forms are limited
Built-in Forms exist for 3ds Max · Blender only.
| DCC | Built-in Form | Why |
|---|---|---|
| 3ds Max | BipedPlus | Auto-rig form |
| Blender | Auto-Rig Pro | Widely used, so it shipped first |
| Maya | Not yet | Studios lean on in-house custom rigs. Advanced Skeleton exists, but making your own Dummy is usually better, so Maya was held back |
A common Maya auto-rig will be added later. Until then you can still use a Form built in 3ds Max. You just have to match axes and bone naming.
There is no separate “Maya rigging vs Max rigging.” The gap is bone naming and which axis faces forward. Treat BipedPlus as a different style, nothing more.
Axis options: F15
3. When spine counts differ
Pick Maya, then All → Import. The bone tree is not 3ds Max Biped.
If the Dummy has four spines and the rig has three, a forced Apply still lands. The shrunken top was the old Spine 4 segment.
On Biped the first Spine has no number. Do not mix that up.
Fit Dummy rotation is enough for a one-off. Repeating a 90° match on every import costs time. Edit the Dummy to match the rig. You can also build a new one with Create Dummy as in EP17. This episode edits a shipped Template.
4. The 90° offset
The saved Dummy is Y forward. The Maya Mabel example has Y to the right, closer to X forward. So the Dummy lands 90° to the left.
One-off fix:
- Fit Dummy
- Turn Snap on
- Turn Follow Child off — you need independent motion
- Rotate · nudge, then Transfer Weight
If the view is noisy, Hide other meshes and keep Dummy · Body. After Show All, Save · All View stores and switches view states.
Doing that every import is painful. Fix the Template instead.
5. Duplicate to Custom
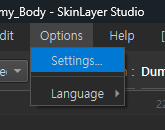
- Right-click the built-in Template → Duplicate to Custom
- Rename (e.g.
my maya spine4). If the name exists, Remove then Rename again - Open File — it is still a 3ds Max BipedPlus bone tree
BipedPlus is the 3ds Max auto-rig. The real problem is not the bone list. It is the axis.
6. Switch coordinates to Maya
- In Admin Tool, change the coordinate system 3ds Max → Maya. Keep bone positions
- Yes — Up is Y, Front is Z, labeled Maya
- Bones still need a rotation. Right now rotating a bone drags the mesh
- No Mesh / No Deform — bones move, the mesh does not. Dummy is not in Fit Mode either
- Turn Follow Mode off
- Snap 45° and Selector Mode to fix each bone’s Y. Children do not follow
- A small leftover offset can be the rig. In Show Transform, zero Local · World so they match the parent
- For COM, turn Follow Child off and send Y to the side
- Turn Follow Mode back on. Save the current pose as the start → Reset Bind
- Reset Bind on All Mesh at the current frame, frame 0
- Turn No Deform off and test. Turn Snap off and save
Reset Bind is not only for this. Use it when an existing Dummy needs a new axis. Menus: F11 · Menu bar
7. .idt · M mark · Naming
After save it is an Init Dummy Template, extension .idt. An M mark in the list means the Maya form.
Production keeps bone naming consistent. Matching every time is slow. Rename Dummy bones to the rig and Apply lands immediately. This rig ends at Chest. Yours may differ.
Rename is not only for this case. Use it on Dummy Data you already built.
8. Missing bones · leftover Weight
If the rig has no COM, Unparent · Parent in the Transform menu, pull it out, then delete.
Remove fails if Weight remains. The dialog means Weight still lives somewhere. Move that Weight to Pelvis, then Remove. Clear leftover Dummy bones and save.
9. Apply again
Pick in Maya, then Apply the edited Init Dummy. Matched naming goes in immediately. If Chest is a bit off, nudge with Fit Dummy, turn it off, then Transfer Weight.
Max/Blender Form Dummy
  → Duplicate to Custom · Rename
  → Admin Tool: coords Maya · keep bone positions
  → No Deform · Follow Off · rotate Y (Snap 45 · Selector)
  → Local/World 0 · Reset Bind (frame 0 · All Mesh)
  → Match naming · Remove bones with no Weight (fold leftover Weight to Pelvis)
  → Save (.idt · M if Maya)
  → Apply · small Fit Dummy · Transfer Weight
Contact: contact@otakusolutions.com